
Post by Marc on Jul 4, 2007 11:08:44 GMT -5
Hey gang,
I thought I will share the process of how I make a hat from the very start, where I chose the right size of rawbody, to the point where it's shipped. I hope this will gain a better understanding of why it actually takes so long to receive the hat, after it's been ordered and might be an interesting read for some of you. Thanks John for hosting the pictures as always.
Some techniques that I'm using will remain close to the vest, but I'll let you know the time it takes.
STEP 1
Ok starting with a rawbody in the right size (makes sense, doesn't it):
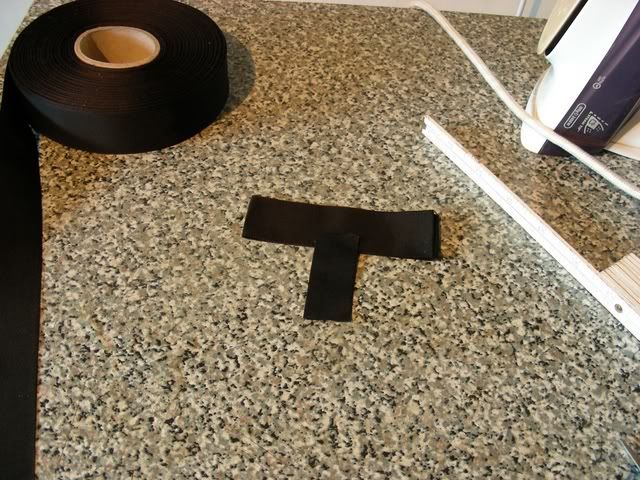
While I'm waiting for the water to boil, I'm chosing a flawless sweatband (looking out for flaws in the stitching etc. - If it has flaws, I'll trash it). Ok, got one that looks good...
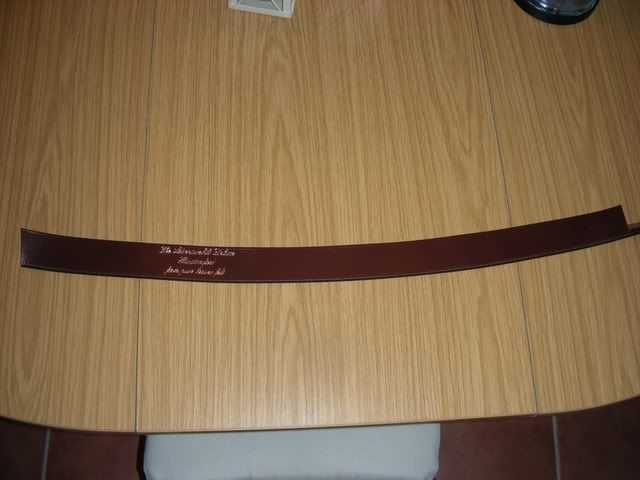
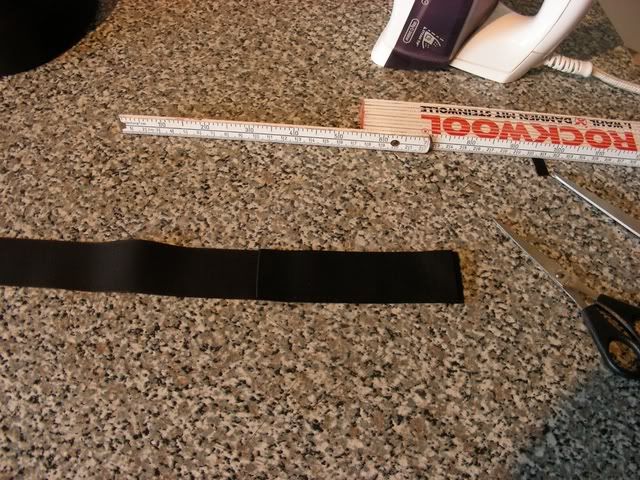
...water isn't boiling yet, so I'll go ahead and cut the sweatband to size:
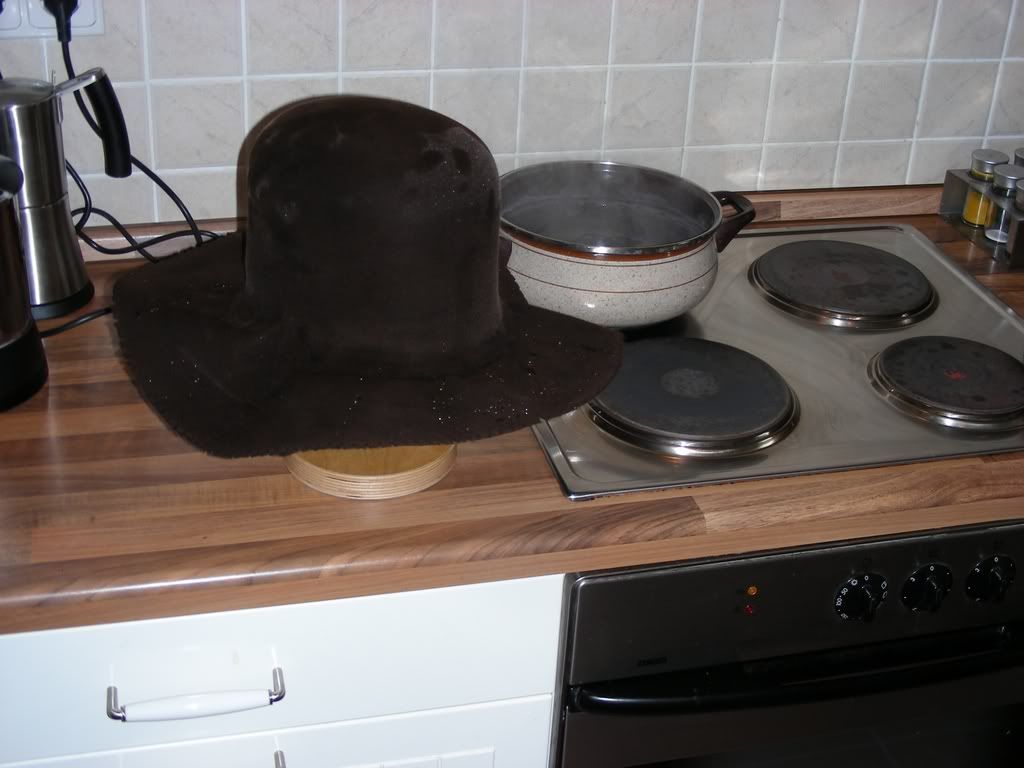
Ok, finally I got some boiling hot water in the pot...
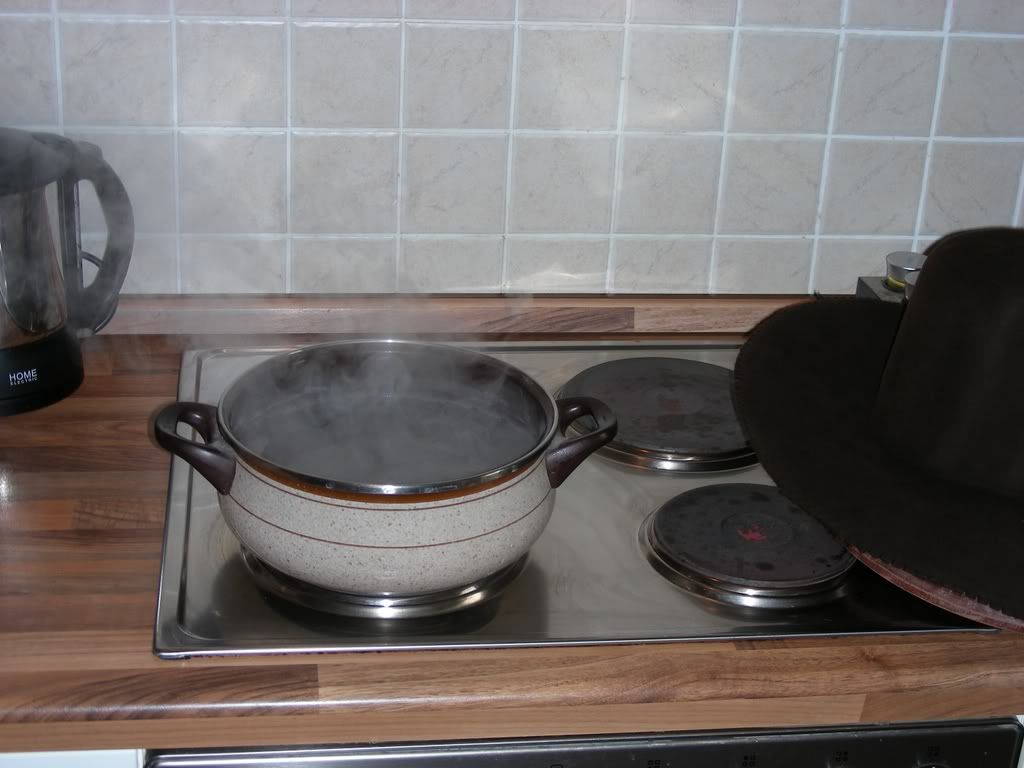
...so it's time to wet down the body in the shower and hit it with some steam:
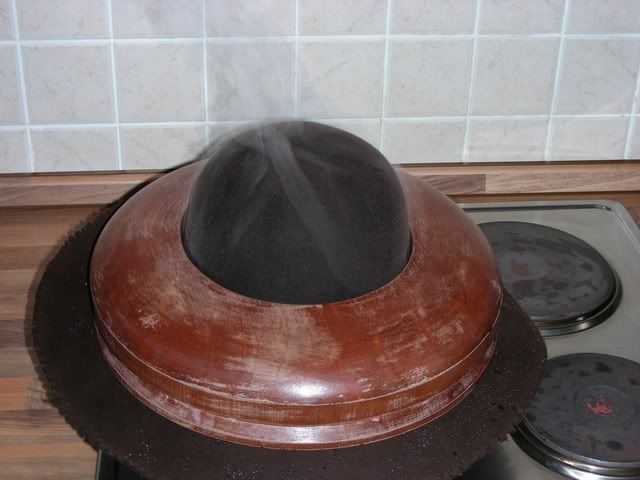
And while it's steamy and hot, over the block, using my brim flange to get it evenly pulled over the block.
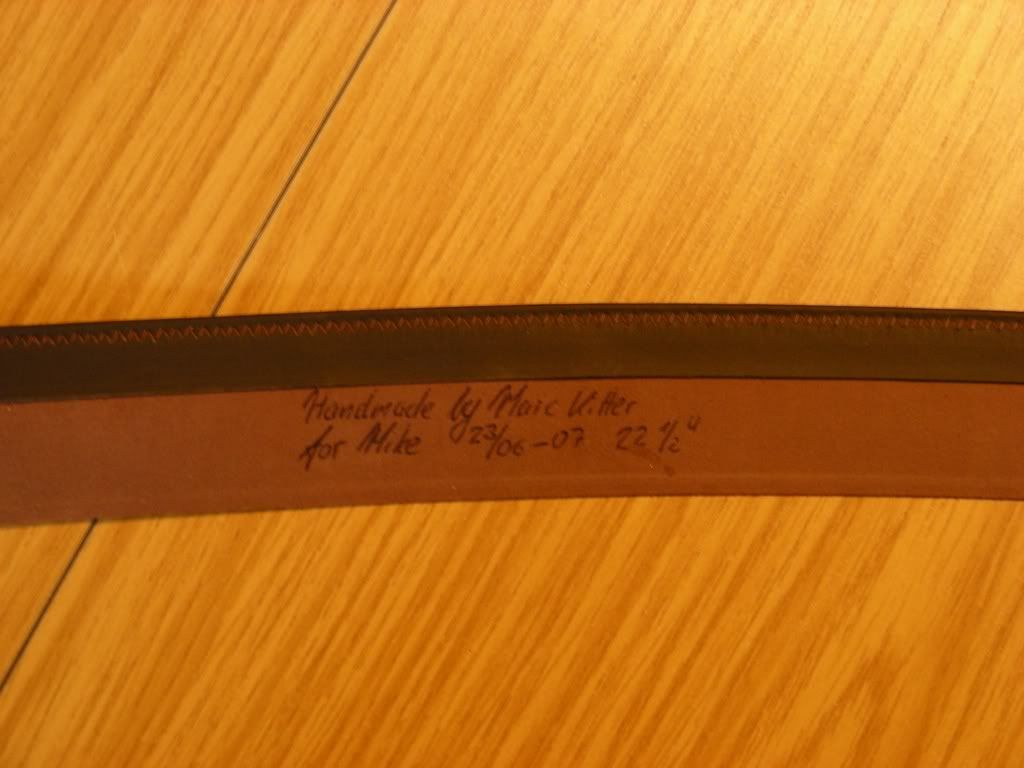
Time to leave the felt on the block for a while, so it can relax a little after the stress. So I'm moving towards the sweatband again. A little trivia on the backside:
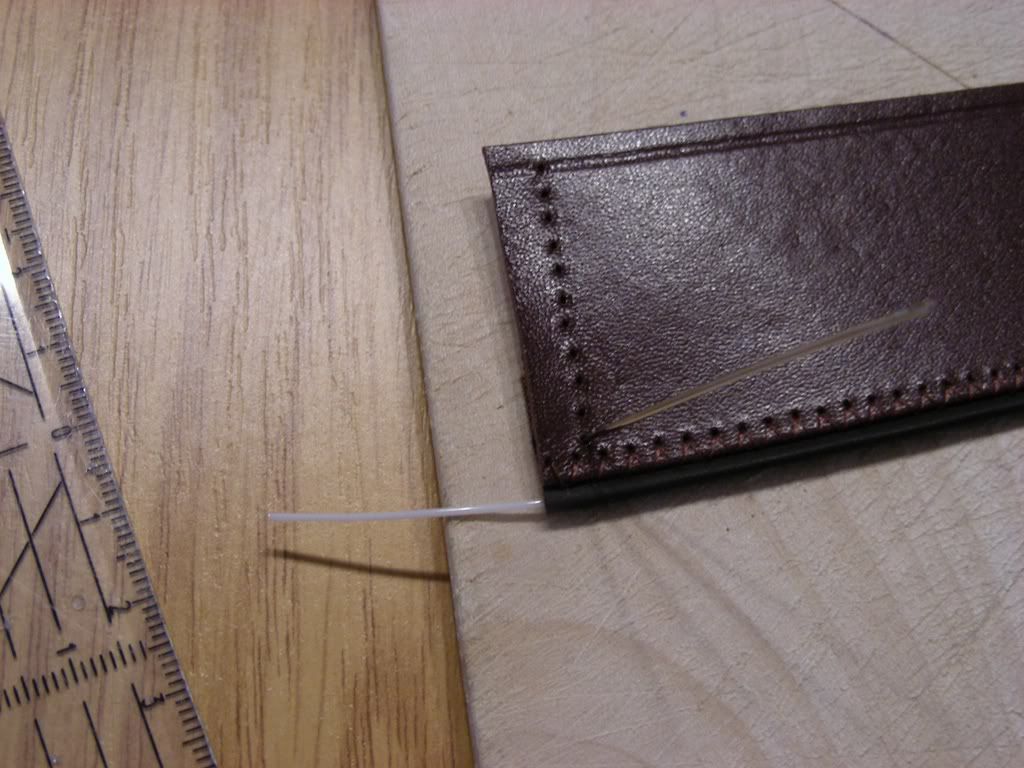
Then I'm using a ruler to evenly space the holes. I like when it LOOKS as if it's machine made, but prefer doing all by hand.
Here comes the part that really takes it's time (I'm quite slow with sewing - or maybe just too picky... probably a mix of both):
Ok, looking good so far. Time for a cigarette.
In the meanwhile the hat has undergone the first step of preaging. Everything so far has taken 1 hour and 13 min. (cigarette not incl.).
Regards,
Marc
STEP 2
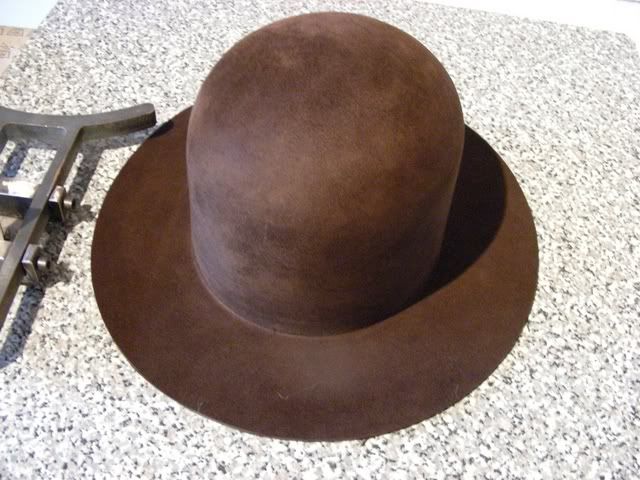
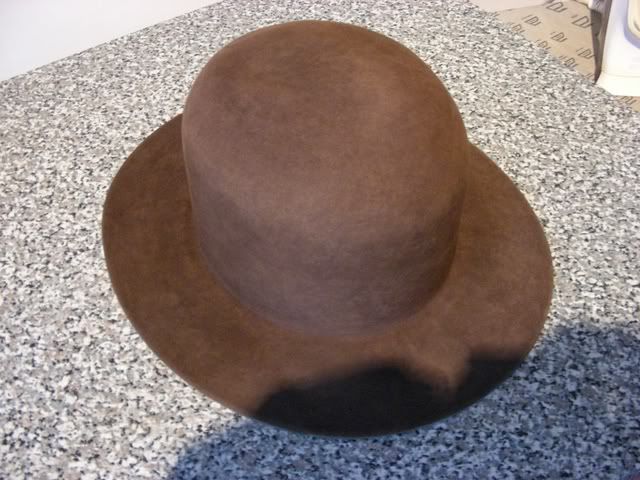
Ok, the felt has had its time to relax on the block, so I moved forward and put in a brim break. This is a little tricky, as the brim break the rawbody comes with never matches the high of the block exactly, so a new one has to be ironed into the felt - turning a bit of the crown into brim. If pulled too hard, while doing so, you'll gain a tension to the crown felt - causing it to taper or shrink later on. If pulled to little, you end up with air between the top of the crown and the block. So you have to push the top of the crown down on the block, while trying to convert the part of the crown felt into brim. Naturally the felt will wrinkle in all directions, but with lots of water and a hot iron, that can be taken care of.
This took exactly 30 min.
Time to let the felt relax a little after all the stress and to dry to the core, before I move on and start on thre pre-aging.
Regards,
Marc
STEP 3
I got up real early this morning and started pre-aging the hat before I went to work. The rest was done when I got home.
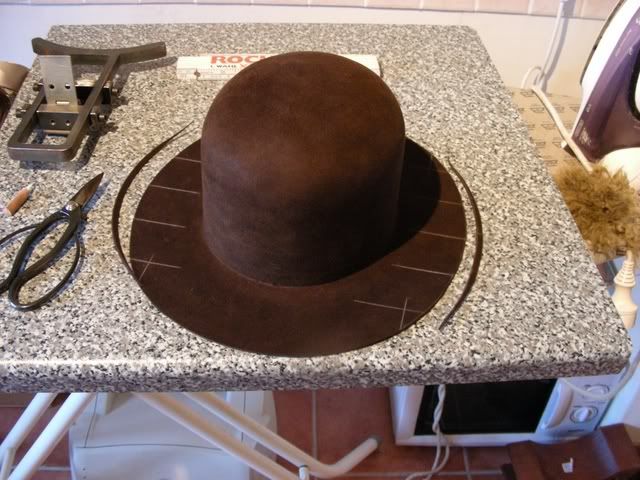
Then it was time to cut the brim to 2 7/8" all the way around. So I set my homemade rounding jack to exactly 73mm...
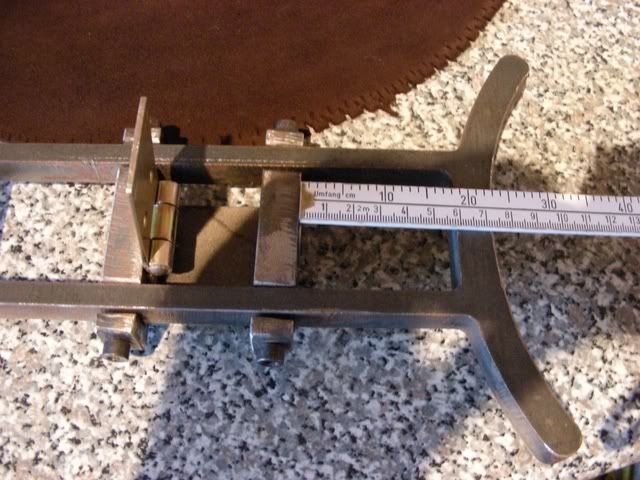
...and cut down the brim.
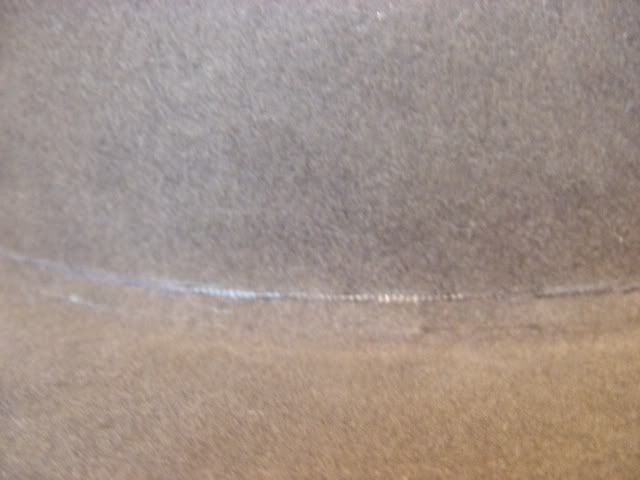
Now it's time to put in the dimensional cut, to the same SPECS. that Richard Swales did back then (a little more professional than just eyeballing 1/4" and giving it a try with a pair of scissors though). I found a pair of handmade Japanese bonsai scissors to be very pleasant to work with, but any pair of good scissors will do. You can see the cut offs next to the brim.
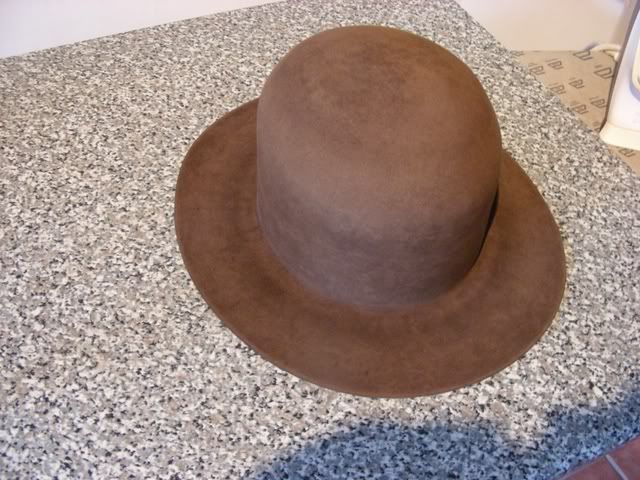
After that, I took the hat out to the work shop and smoothed out the dimensional cut with some sandpaper, to make it look as even as possible. After that I hit it on the upper side with the first pouncing using a 320 grit sandpaper.
It's slowly starting to look like a hat now - even though it's a long way alone on the pouncing yet. Today I spent 74 mins. on the hat. So if I did the math right, I've spent 177 mins. on it so far.
Regards,
Marc
STEP 4
600 grit:
Unfortunately I missed the 800 grit
1000 grit:
1200 grit:

2000 grit:
After that I removed the mottling that occured during pouncing with the finer grit. 75minutes today...
Regards,
Marc
STEP 5
Working on this hat has been nothing but a pleasure so far. Everything worked out perfectly and that's really nice. Hopefully that'll continue.
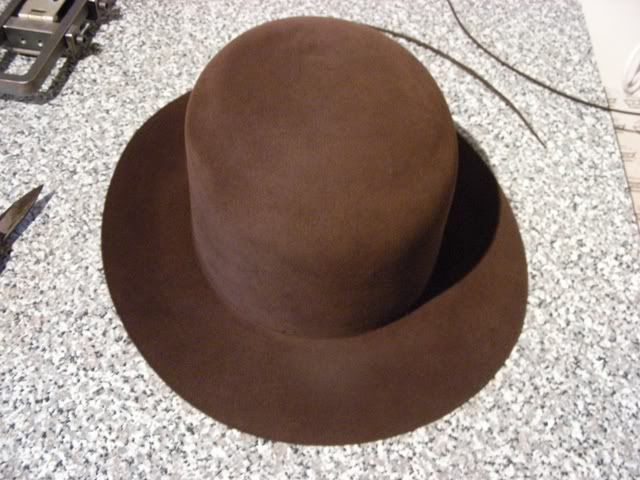
Today I gave the hat a final polishing with the 2000 grit sandpaper and removed the mottling again after that. The texture really has this silky finish now and I'm starting to feel that this hat should rather end up on MY noggin' - well, that wouldn't be fair towards Mike would it...
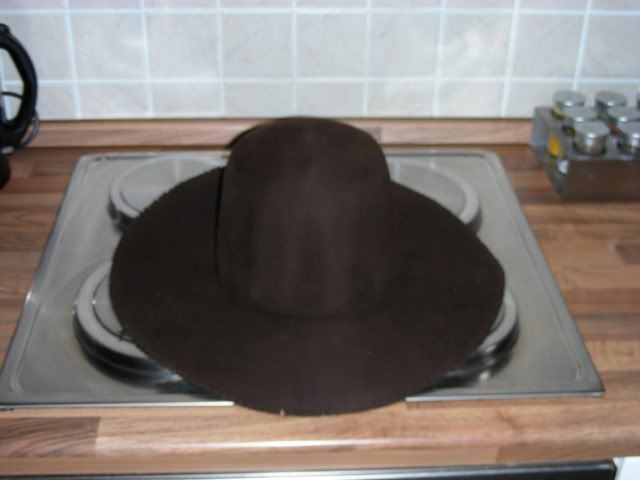
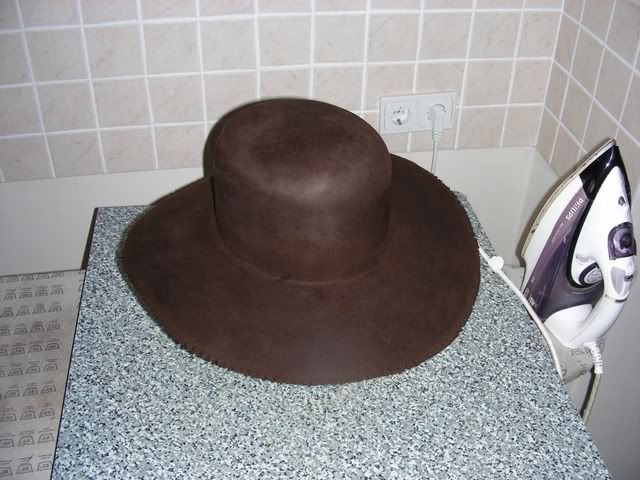
Anyway, time to flange the brim:
I'll leave it to dry 'til tomorrow, where I'll add a coat of water repellant (yeah, it's in the felt already - but the more the better). And then it's time to put this beauty together.
Regards,
Marc
P.S.: Almost forgot: 31 minutes today
STEP 6
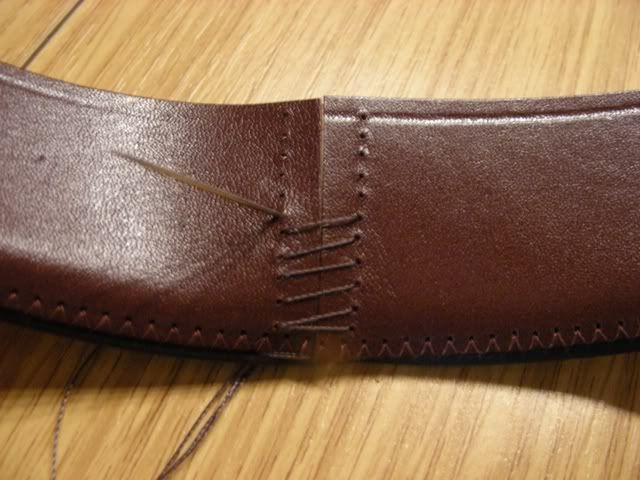
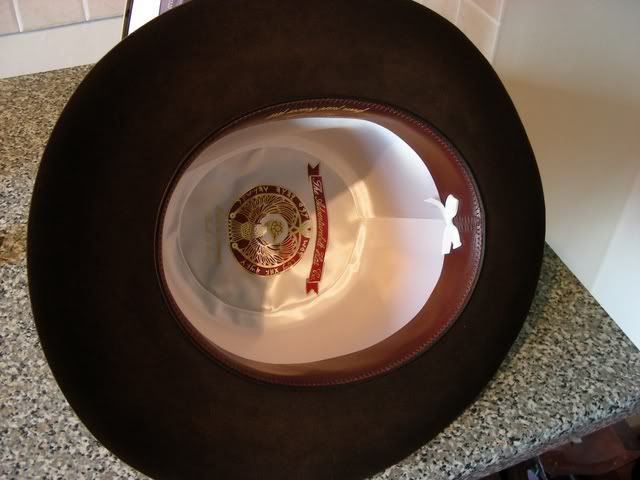
Seems like my luck stayed true to me today. I put in the sweatband and it all worked out greatly. No knots in the thread that forced me to start it all over!!!
Here's the result of another 98min.:
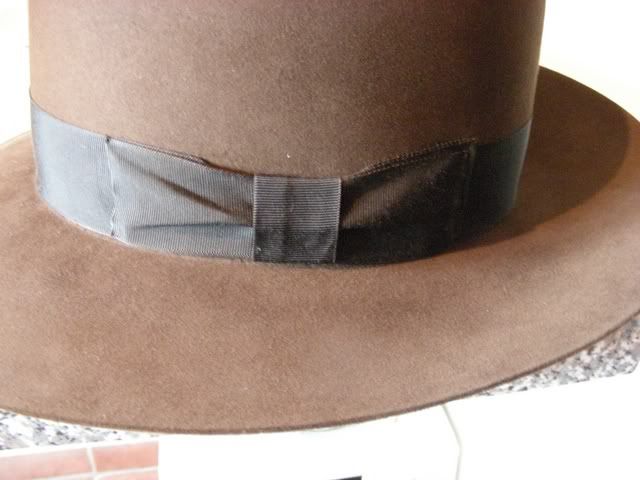
Sweatband installed
Close up of the stitching
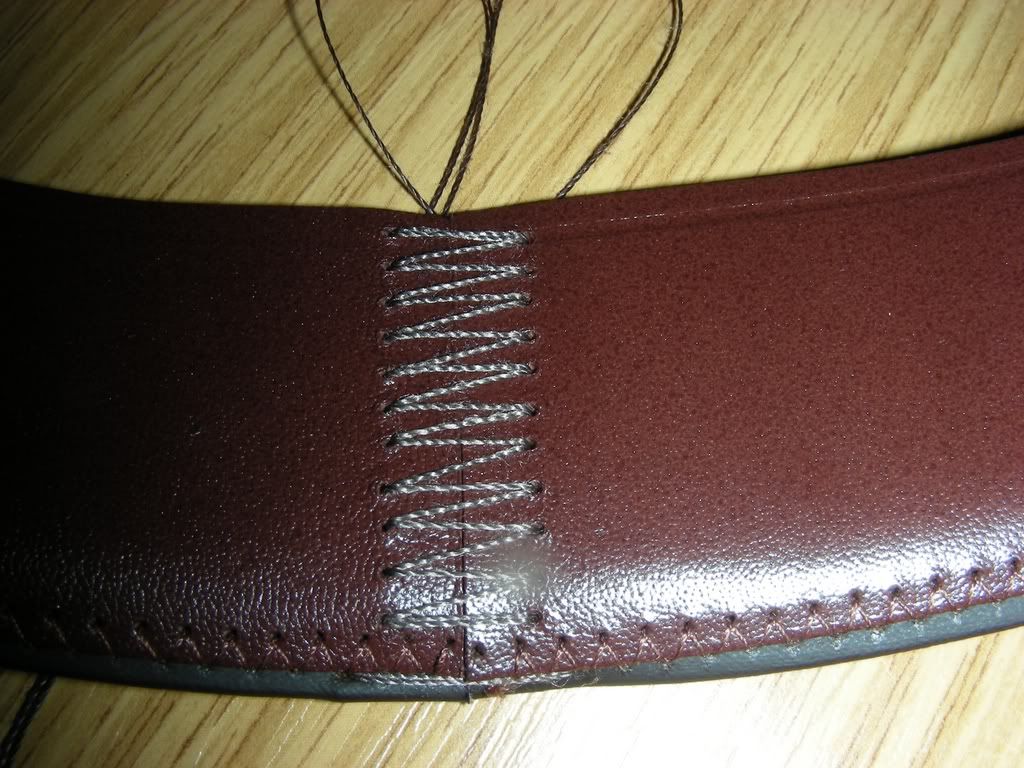
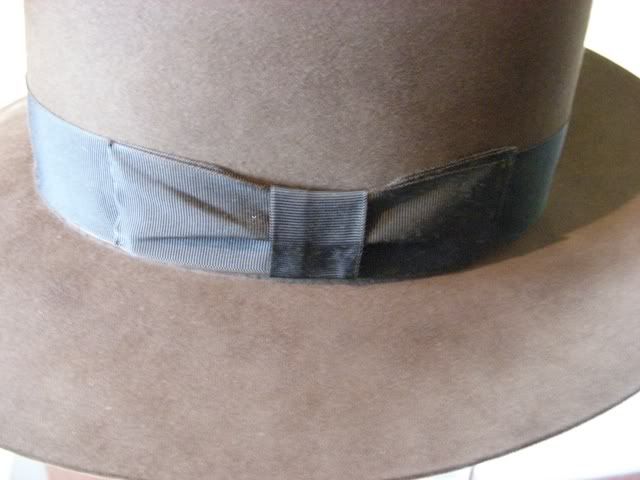
Inside
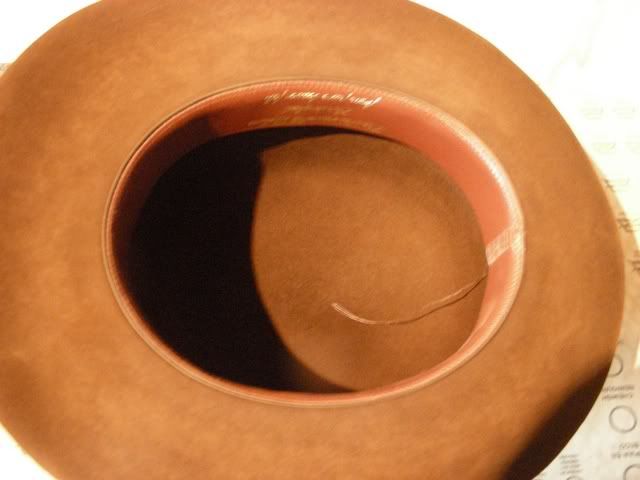
Close up of the stitching inside
Total work time on this one so far is 381 min. which is very, very good IMHO. I've spent way more on other hats, when things didn't turn out as planned from the get go. Looks like the practice lately has been of great value.
Regards,
Marc
STEP 7
Well gang, seems like my luck kind of left for a day off... I had asked Mike, if I could try to make the bow using a three piece construction as on the Raiders HJs and he basicly let me do, whatever it takes.
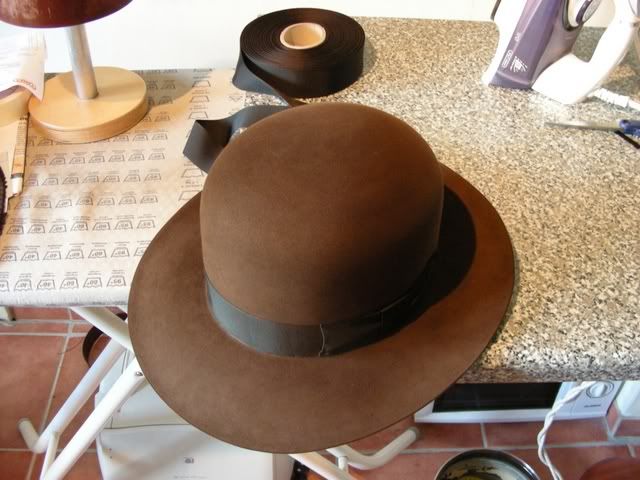
So I went ahead and did the bow...
...attached the ribbon that goes around the crown...
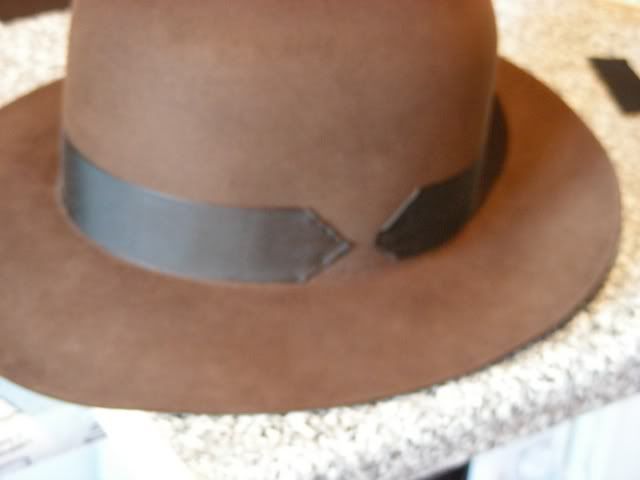
...attached the double bow... and didn't like it. It didn't look near as good as usually, so 104 minutes just went down the drain and I started over - well in order to improve, one's gotta try...
...attached the new two piece bow...
...much better, except for the knot being 1/8" too far to the right / back. So I redid the knot placement...
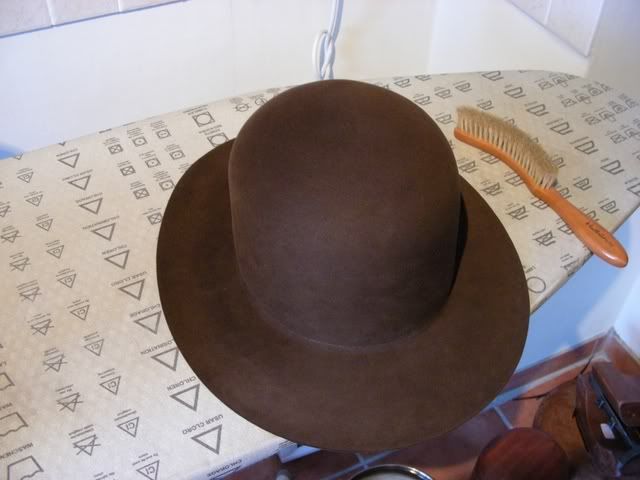
...much better... and sew in the liner and the lil tie bow on the sweatband
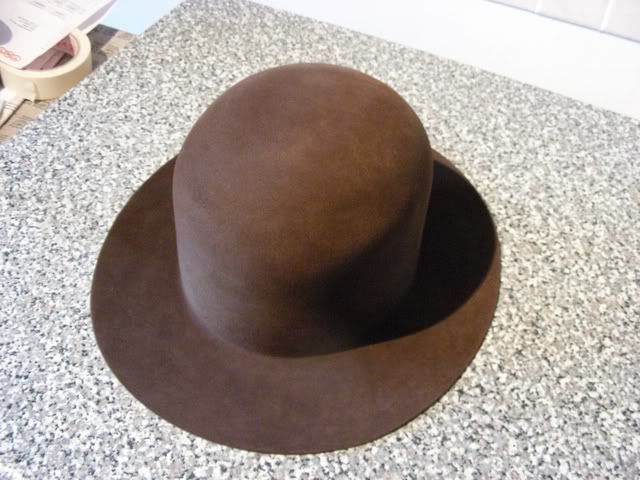
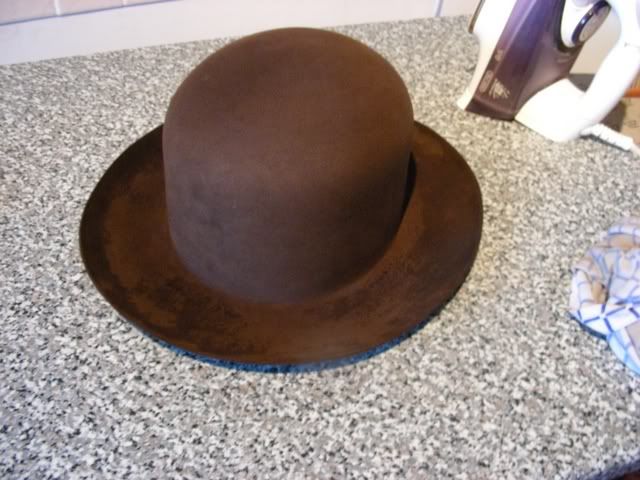
...brushed off the hat, and that's it folks.
Todays time spent: 104 minutes on screwing up and 80 minutes for doing it as usual. So, time for Mike so pm me the address he wants it sent to and it'll be out on Monday.
Total time: 565 min. incl. the screwed up bow and 461 min. without.
Hopefully Mike will post a picture once he creased it to complete the series.
Hope you liked reading it.
Regards,
Marc
I thought I will share the process of how I make a hat from the very start, where I chose the right size of rawbody, to the point where it's shipped. I hope this will gain a better understanding of why it actually takes so long to receive the hat, after it's been ordered and might be an interesting read for some of you. Thanks John for hosting the pictures as always.
Some techniques that I'm using will remain close to the vest, but I'll let you know the time it takes.
STEP 1
Ok starting with a rawbody in the right size (makes sense, doesn't it):
While I'm waiting for the water to boil, I'm chosing a flawless sweatband (looking out for flaws in the stitching etc. - If it has flaws, I'll trash it). Ok, got one that looks good...
...water isn't boiling yet, so I'll go ahead and cut the sweatband to size:
Ok, finally I got some boiling hot water in the pot...
...so it's time to wet down the body in the shower and hit it with some steam:
And while it's steamy and hot, over the block, using my brim flange to get it evenly pulled over the block.
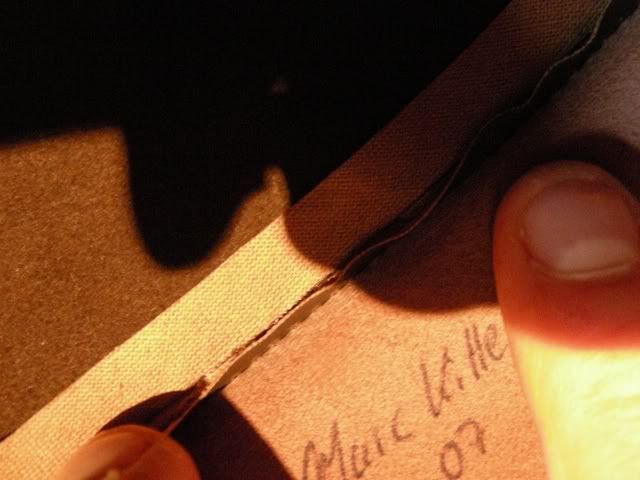
Time to leave the felt on the block for a while, so it can relax a little after the stress. So I'm moving towards the sweatband again. A little trivia on the backside:
Then I'm using a ruler to evenly space the holes. I like when it LOOKS as if it's machine made, but prefer doing all by hand.
Here comes the part that really takes it's time (I'm quite slow with sewing - or maybe just too picky... probably a mix of both):
Ok, looking good so far. Time for a cigarette.
In the meanwhile the hat has undergone the first step of preaging. Everything so far has taken 1 hour and 13 min. (cigarette not incl.).
Regards,
Marc
STEP 2
Ok, the felt has had its time to relax on the block, so I moved forward and put in a brim break. This is a little tricky, as the brim break the rawbody comes with never matches the high of the block exactly, so a new one has to be ironed into the felt - turning a bit of the crown into brim. If pulled too hard, while doing so, you'll gain a tension to the crown felt - causing it to taper or shrink later on. If pulled to little, you end up with air between the top of the crown and the block. So you have to push the top of the crown down on the block, while trying to convert the part of the crown felt into brim. Naturally the felt will wrinkle in all directions, but with lots of water and a hot iron, that can be taken care of.
This took exactly 30 min.
Time to let the felt relax a little after all the stress and to dry to the core, before I move on and start on thre pre-aging.
Regards,
Marc
STEP 3
I got up real early this morning and started pre-aging the hat before I went to work. The rest was done when I got home.
Then it was time to cut the brim to 2 7/8" all the way around. So I set my homemade rounding jack to exactly 73mm...
...and cut down the brim.
Now it's time to put in the dimensional cut, to the same SPECS. that Richard Swales did back then (a little more professional than just eyeballing 1/4" and giving it a try with a pair of scissors though). I found a pair of handmade Japanese bonsai scissors to be very pleasant to work with, but any pair of good scissors will do. You can see the cut offs next to the brim.
After that, I took the hat out to the work shop and smoothed out the dimensional cut with some sandpaper, to make it look as even as possible. After that I hit it on the upper side with the first pouncing using a 320 grit sandpaper.
It's slowly starting to look like a hat now - even though it's a long way alone on the pouncing yet. Today I spent 74 mins. on the hat. So if I did the math right, I've spent 177 mins. on it so far.
Regards,
Marc
STEP 4
600 grit:
Unfortunately I missed the 800 grit
1000 grit:
1200 grit:
2000 grit:
After that I removed the mottling that occured during pouncing with the finer grit. 75minutes today...
Regards,
Marc
STEP 5
Working on this hat has been nothing but a pleasure so far. Everything worked out perfectly and that's really nice. Hopefully that'll continue.
Today I gave the hat a final polishing with the 2000 grit sandpaper and removed the mottling again after that. The texture really has this silky finish now and I'm starting to feel that this hat should rather end up on MY noggin' - well, that wouldn't be fair towards Mike would it...
Anyway, time to flange the brim:
I'll leave it to dry 'til tomorrow, where I'll add a coat of water repellant (yeah, it's in the felt already - but the more the better). And then it's time to put this beauty together.
Regards,
Marc
P.S.: Almost forgot: 31 minutes today
STEP 6
Seems like my luck stayed true to me today. I put in the sweatband and it all worked out greatly. No knots in the thread that forced me to start it all over!!!
Here's the result of another 98min.:
Sweatband installed
Close up of the stitching
Inside
Close up of the stitching inside
Total work time on this one so far is 381 min. which is very, very good IMHO. I've spent way more on other hats, when things didn't turn out as planned from the get go. Looks like the practice lately has been of great value.
Regards,
Marc
STEP 7
Well gang, seems like my luck kind of left for a day off... I had asked Mike, if I could try to make the bow using a three piece construction as on the Raiders HJs and he basicly let me do, whatever it takes.
So I went ahead and did the bow...
...attached the ribbon that goes around the crown...
...attached the double bow... and didn't like it. It didn't look near as good as usually, so 104 minutes just went down the drain and I started over - well in order to improve, one's gotta try...
...attached the new two piece bow...
...much better, except for the knot being 1/8" too far to the right / back. So I redid the knot placement...
...much better... and sew in the liner and the lil tie bow on the sweatband
...brushed off the hat, and that's it folks.
Todays time spent: 104 minutes on screwing up and 80 minutes for doing it as usual. So, time for Mike so pm me the address he wants it sent to and it'll be out on Monday.
Total time: 565 min. incl. the screwed up bow and 461 min. without.
Hopefully Mike will post a picture once he creased it to complete the series.
Hope you liked reading it.
Regards,
Marc